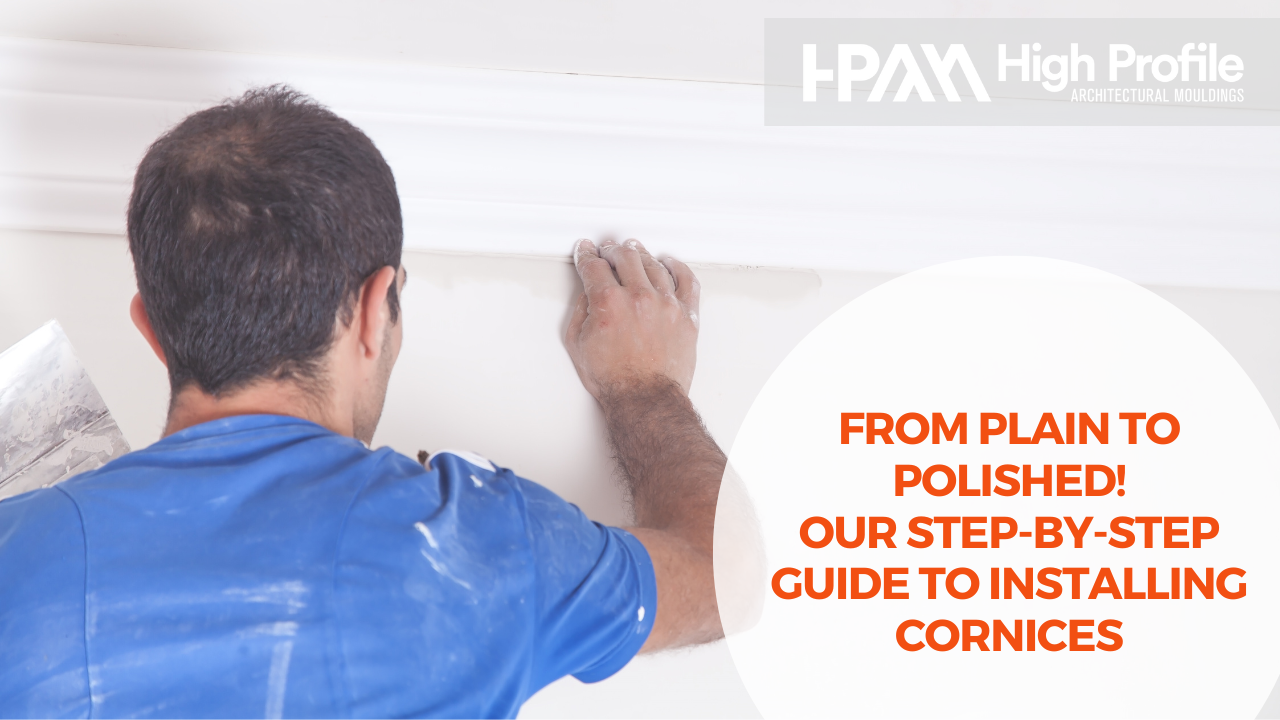
Installing cornices in your home are a great choice for when it comes to levelling up the wow factor of your home’s living spaces.
Whether you’re a seasoned DIY enthusiast or a first-time homeowner, installing cornice moulding is a rewarding project that enhances the overall beauty and value of your property.
If you’re ready to turn plain walls into talking points, then let us take you through the step-by-step process of installing cornice moulding. Our tips and range of products will ensure you achieve a seamless (and eye-catching!) result that you’ll be proud of.
Why Cornices Matter
Did you know that cornice moulding is more than just a decorative element?
It also serves a functional purpose by concealing the joint between walls and ceilings, giving the room a finished and polished look.
Whether your home is traditional, contemporary, or somewhere in between, choosing the right cornice design goes a long way in complementing your interior style.
The installation process might seem daunting at first but, with the right tools and know-how, you can achieve professional-looking results that you’ll love!
Step 1: Gather Your Materials
Before diving into the installation process, let’s gather all the necessary materials.
You’ll need cornice moulding, a saw, a coping saw, adhesive, a level, a measuring tape, and painter’s tape.
Investing in high-quality materials ensures durability and a flawless finish, so we recommend choosing your products with this in mind.
Step 2: Measuring and Planning
As the saying goes, ‘measure twice, cut once’!
Accurate measurements are crucial for a successful cornice installation.
Measure the perimeter of the room where the cornice will be installed and calculate the total length of moulding you require.
Plan the layout, marking the starting and ending points, and use painter’s tape to visualise placement before making any cuts or permanent changes.
Step 3: Cutting the Cornice
This is where the time you’ve spent planning pays off.
Using a saw and coping saw, carefully cut your cornice moulding at precise angles to ensure seamless joints.
Accurate cuts are essential for a professional finish, so we recommend taking your time with this step.
Before applying adhesive, we also recommend you test fit the pieces to ensure a snug fit.
Step 4: Applying Adhesive
With your pieces all cut and fitting snugly, how you’re ready to start installing your cornice!
Apply a high-quality adhesive to the back of the cornice moulding and press it firmly against the wall and ceiling, ensuring even contact.
We recommend you use a level to double-check that the moulding is straight.
Once happy with the level and placement, you can now secure the pieces with painter’s tape while waiting for the adhesive to set.
Step 5: Filling Gaps and Sanding
Once you’ve waited the required time for your adhesive to dry, you’ll then move on to inspecting joints for any gaps.
For any gaps you find, simply use a filler to fill in these spaces, creating a smooth and continuous surface.
Once the filler is dry, you can then start sanding. Remember, for a professional finish, your aim is to achieve a seamless transition between the moulding and the wall.
All finished? Congratulations!
You’ve successfully installed cornice moulding in your home!
Take a step back and admire your work. Thanks to your careful planning, precise execution, and attention to detail, you’ve created a visual feature in your home that you can be very proud of.
If you’re ready to elevate your home’s interior, speak with HPAM’s expert team about our range and get ready to be inspired.


